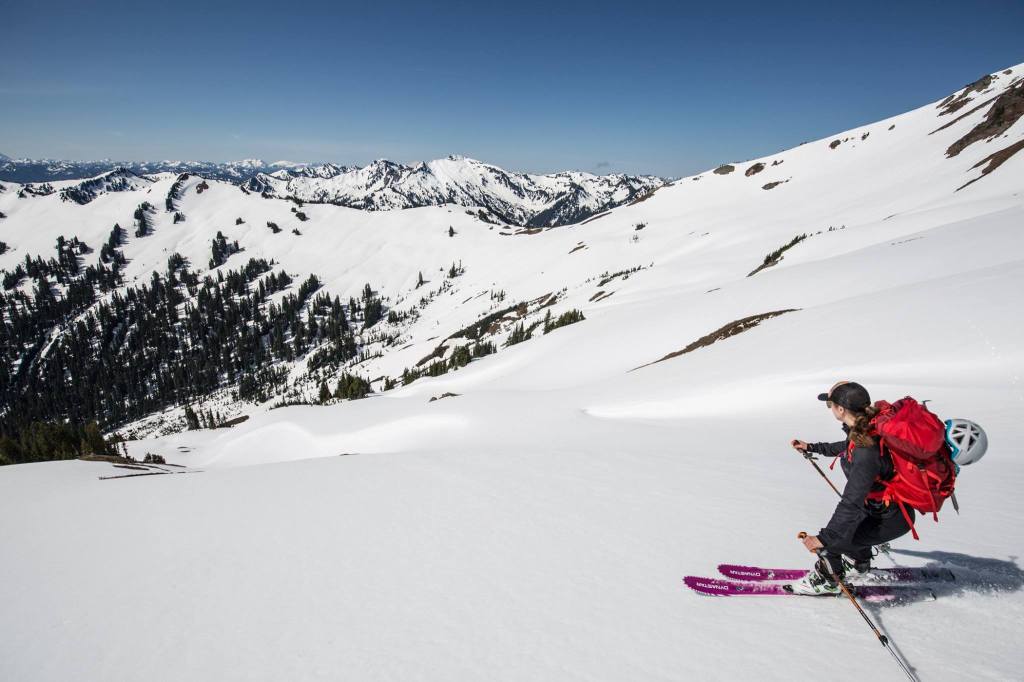
Learning to ski tour in the Pacific Northwest is hard. We’ve got the steepest mountains in the continental US. Our snowpack is warm, wet and difficult to steer in. Plus, Oregon and Washington have the most tree coverage per acre, so it’s more thickets than nicely spaced glades. But just because it’s hard doesn’t mean you need to be an expert skier in order to get enjoyment out of uphill skiing. Here’s a few tips to get the most out of touring at almost any ability level:
- Continue to work on your downhill chops. I know, what the fuck kind of advice is this? But how your downhill skills stack up against a tour’s difficulty influences your overall risk during the day. If you can easily handle the terrain you’re skiing, there’s some buffer for things to go wrong, like for the snow quality to be really poor. Or if your partner is caught in a slide, you can move through rock hard avalanche debris in a search. It means there’s less chance you’ll take a tumble, or worse, get in an accident either on or under slide terrain. Some people really dislike the resort experience, which is totally kosher, but every intermediate lesson or inbound practice day is an investment in your backcountry toolkit.
- Learn the side slip and the falling feather. This is your “oh shit, I’m in over my head” move. In a steep spot? Super icy conditions? Get your skis perpendicular to the slope, tip your bases downhill a bit, and slowly slide it on down. I spent most of my first touring season skiing sideways down the mountain, and while it’s not as efficient as making turns, it at least allowed me to keep my shit together, keep moving, and stay in control. Behind avalanche rescue & assessment skills, that’s the most important part.
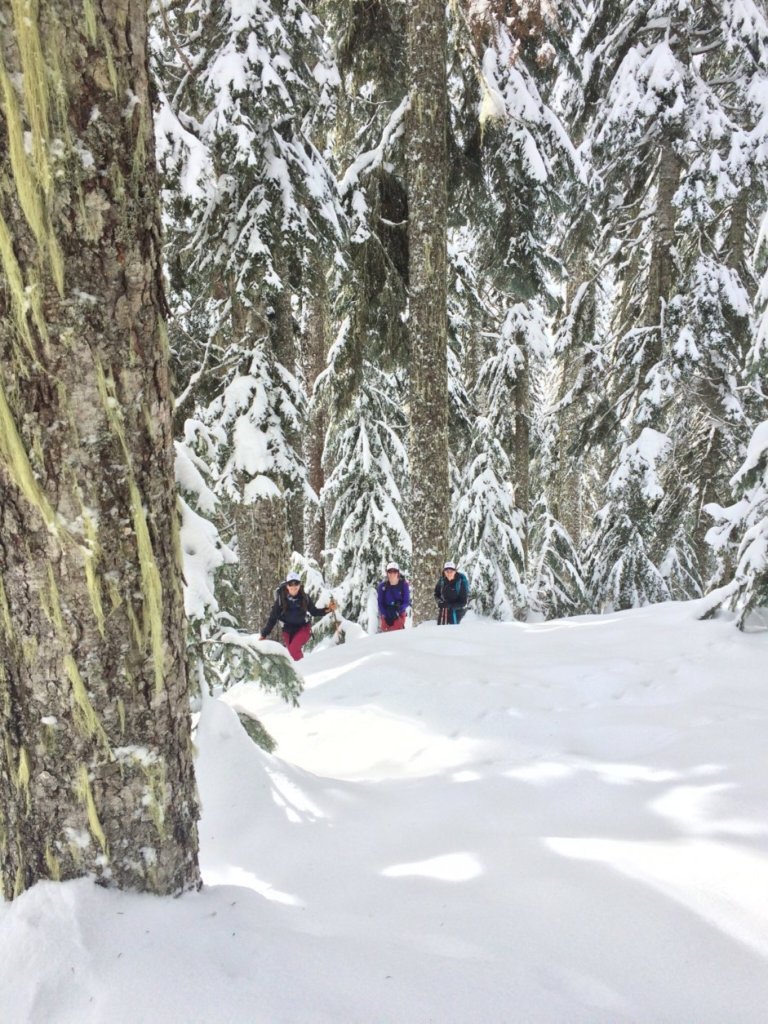
- Own the orange Backcountry Ski Routes book? Throw it in the trash. I jest, kind of. The book can be really misleading because it only classifies ski difficulty on the slope angle of the tour. It doesn’t factor in things like how heavily treed the slopes are, or whether it’s in a tight and narrow couloir vs. an open bowl. I took friends to Kendall Knob for their first uphill skin since it was labeled “easy,” but the trees were super tight. Bodies hit the ground after every other turn and we were racing daylight at the end. It’s a great resource for maps and route descriptions, but a lot of the tours can be overwhelming to intermediate skiers.
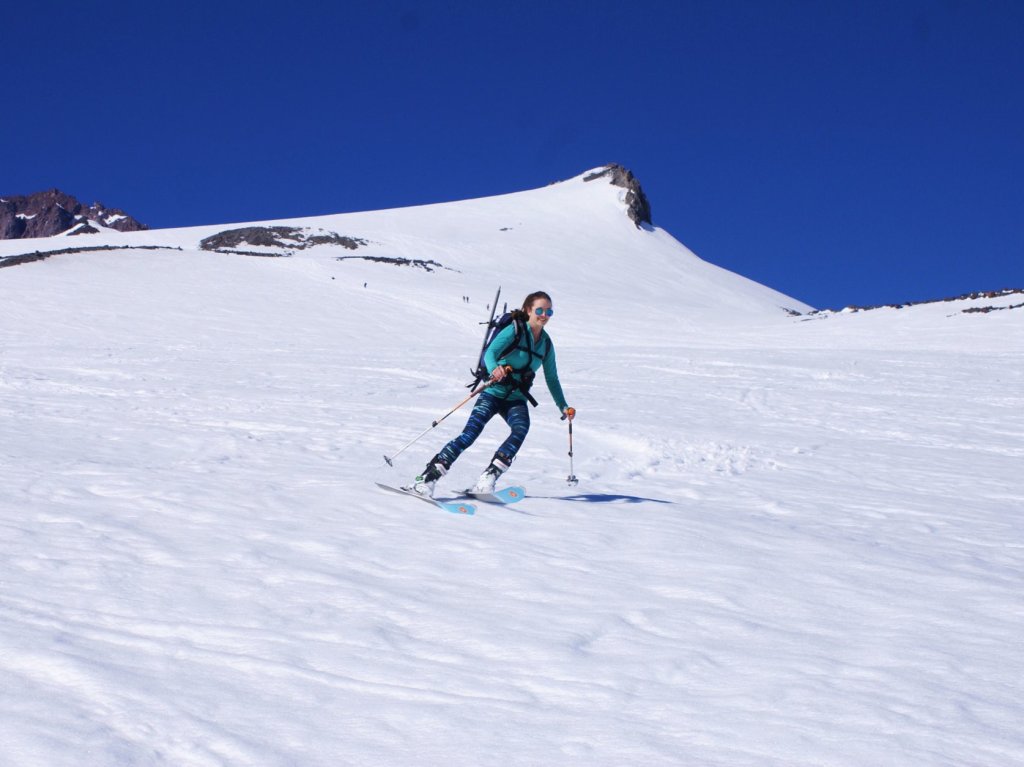
Know how to find good snow. There are 2 types of forgiving, easy-to-steer-in snow. The first is cold & fresh. The second is frozen and thawed a dozen times over. Here in the Cascades, fresh snow means a higher avalanche risk. As it settles over a few days, it tends gets warm (over 28 degrees or so) at some point, where it starts to clump into feta cheese-like chunks. But occasionally, we get an extra cold storm and chilly temps that stick around for a few days and the snow stays nice and light as it bonds to lower layers. This is what dreams are made of. On the other end of the spectrum, in spring, temps swing dramatically between day and night, where slopes get super icy overnight and then the top layer thaws out with the mid-morning sun. This is “corn” snow and it’s like Mother Nature’s groomer since there’s a small soft layer on top, but a frozen, supportive base underneath. Spring is also prime time for new tourers since avalanche risk tends to be lower, temps are warmer, and days are longer.
- Hit the road. Roads are a great place to get started since they’re super accessible, even for people with only a few days on skis under their belt. They take trees and steeps out of the equation. They don’t need much snow to be skiable since there’s no brush or boulders that need to get buried. And it takes all the guess work out of navigation. Skyline Lake, Artist Pointe, and Kendall Peak Lakes are popular options, but that also means there are plenty of snowshoers, sledders, and dogs to dodge during peak times on the weekend. I’ve also liked Amabilis Mountain, which is a groomed XC trail, and Sun Top Lookout, which offers stellar views and is long enough to disinterest a lot of the casual snowshoer crowd. There’s also a huge road network on the east side of Snoqualmie Pass near Keechelus Peak, as well as over Blewett Pass.
- Find trustworthy tour beta. Here in Washington, these are some of my favorites:
- Wenatchee Outdoors: For some of the most popular touring areas, they’ve mapped out descents and rated them green/blue/black, and they’re generally consistent with resort ratings for local hills (but does not account for ungroomed or challenging snow conditions). The east side is also nice for newbies since tree coverage doesn’t get quite as tight on that side of the Cascades.
- Amar Andalkar’s Skiing the Cascade Volcanoes: This site tracks out each summit route on the volcanoes, as well as a few others on the lower flanks. Same story, ratings match up well with resort ratings in decent conditions.
- Trail Cat Jim: This blog has a number of trip reports using Nordic touring skis, so they’re not super steep and often include a decent amount of road skinning. They also include a lot of pictures, which is helpful for gauging tree cover and slope steepness.
- Lap it up. If you’re in a new zone or working on powder proficiency, doing multiple short laps is really helpful. If the snow quality is challenging, there’s minimal time and suffering involved to get down 800-1000 feet before you’re back at the car and able to kick of apres early. (My current record for post-ski drinks is 9:22 am). On the other hand, if the goods are good, you can build on that confidence and find a slightly steeper line for the next run. Time management is easier to manage, and you’re less likely to find yourself out after sunset or a gate closure because you took more time on the downhill than you expected. I spent my first tours on Rainier’s Edith Creek Basin (the basin surrounding the Golden Gate trail on a trail map), and the Source Lake Basin at Snoqualmie Pass is a great adventure zone for newer tourers.
- If you’re still in the gear market, get a solid boot. Boots transfer power from your body to the skis and they’re like the steering wheel of your ski setup. Skiing in soft, short boots is like driving a car using just your pointer fingers. It’s possible, especially with a lot of practice. But you’ll never get the same level of control and be able to quickly react and dodge obstacles as easily.
- Get avy gear and education. I hope anyone who’s reached the logistics and trip planning stage of touring has gotten the memo about avalanches, but I’d be remiss to write tips for newer tourers and not include it.
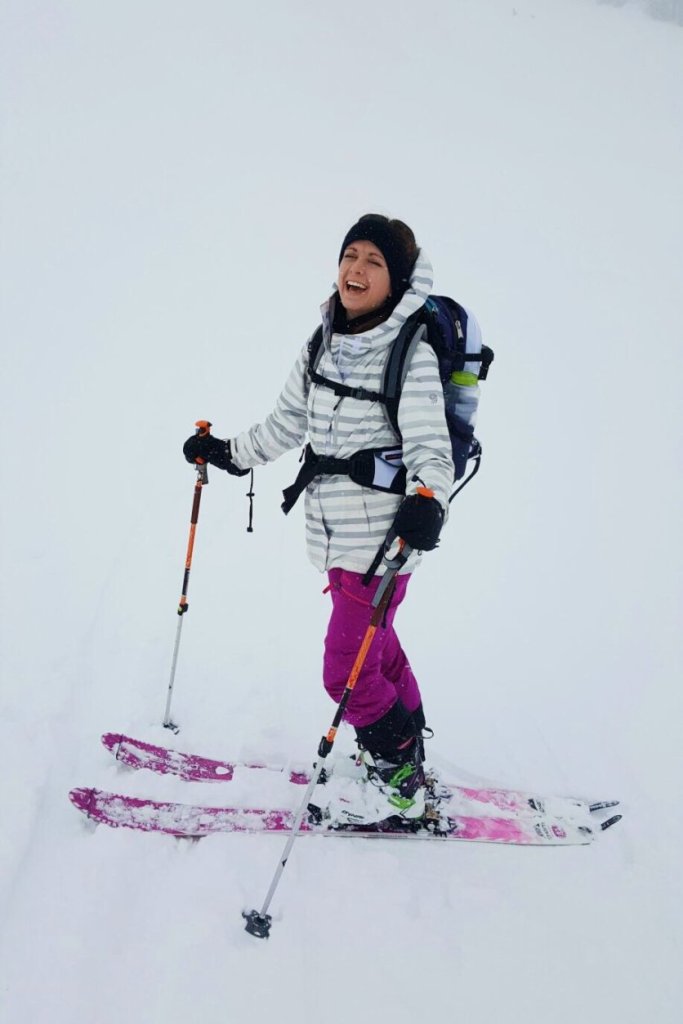
- Treat yourself with grace. Touring here is hard. Particularly for progressing skiers, but sticky snow conditions and thick foliage can test even the most proficient skiers. The occasional cussing, crying, or doubting whether you ever learned to ski in the first place are all really normal, especially at the beginning.

Loved your article. I just bought new new gear and this is in my backyard.
LikeLike